Pinggy - Quickstart
Pinggy is the easiest way to get public URLs for your localhost. You can use it to quickly host a website from your laptop, receive webhooks, share files, connect to your Raspberry Pi, and more.
Follow the three simple steps to get started:
Step 1: Run your service in localhost
First you need to run the service you want to share in localhost. For example you may be using a webserver like Apache. Make sure your service is available in a localhost URL such as http://localhost:8080.
You can quickly launch such a server for testing purposes using Python: python3 -m http.server .
This will start a server at http://localhost:8000.
Step 2: Create a tunnel using a single command
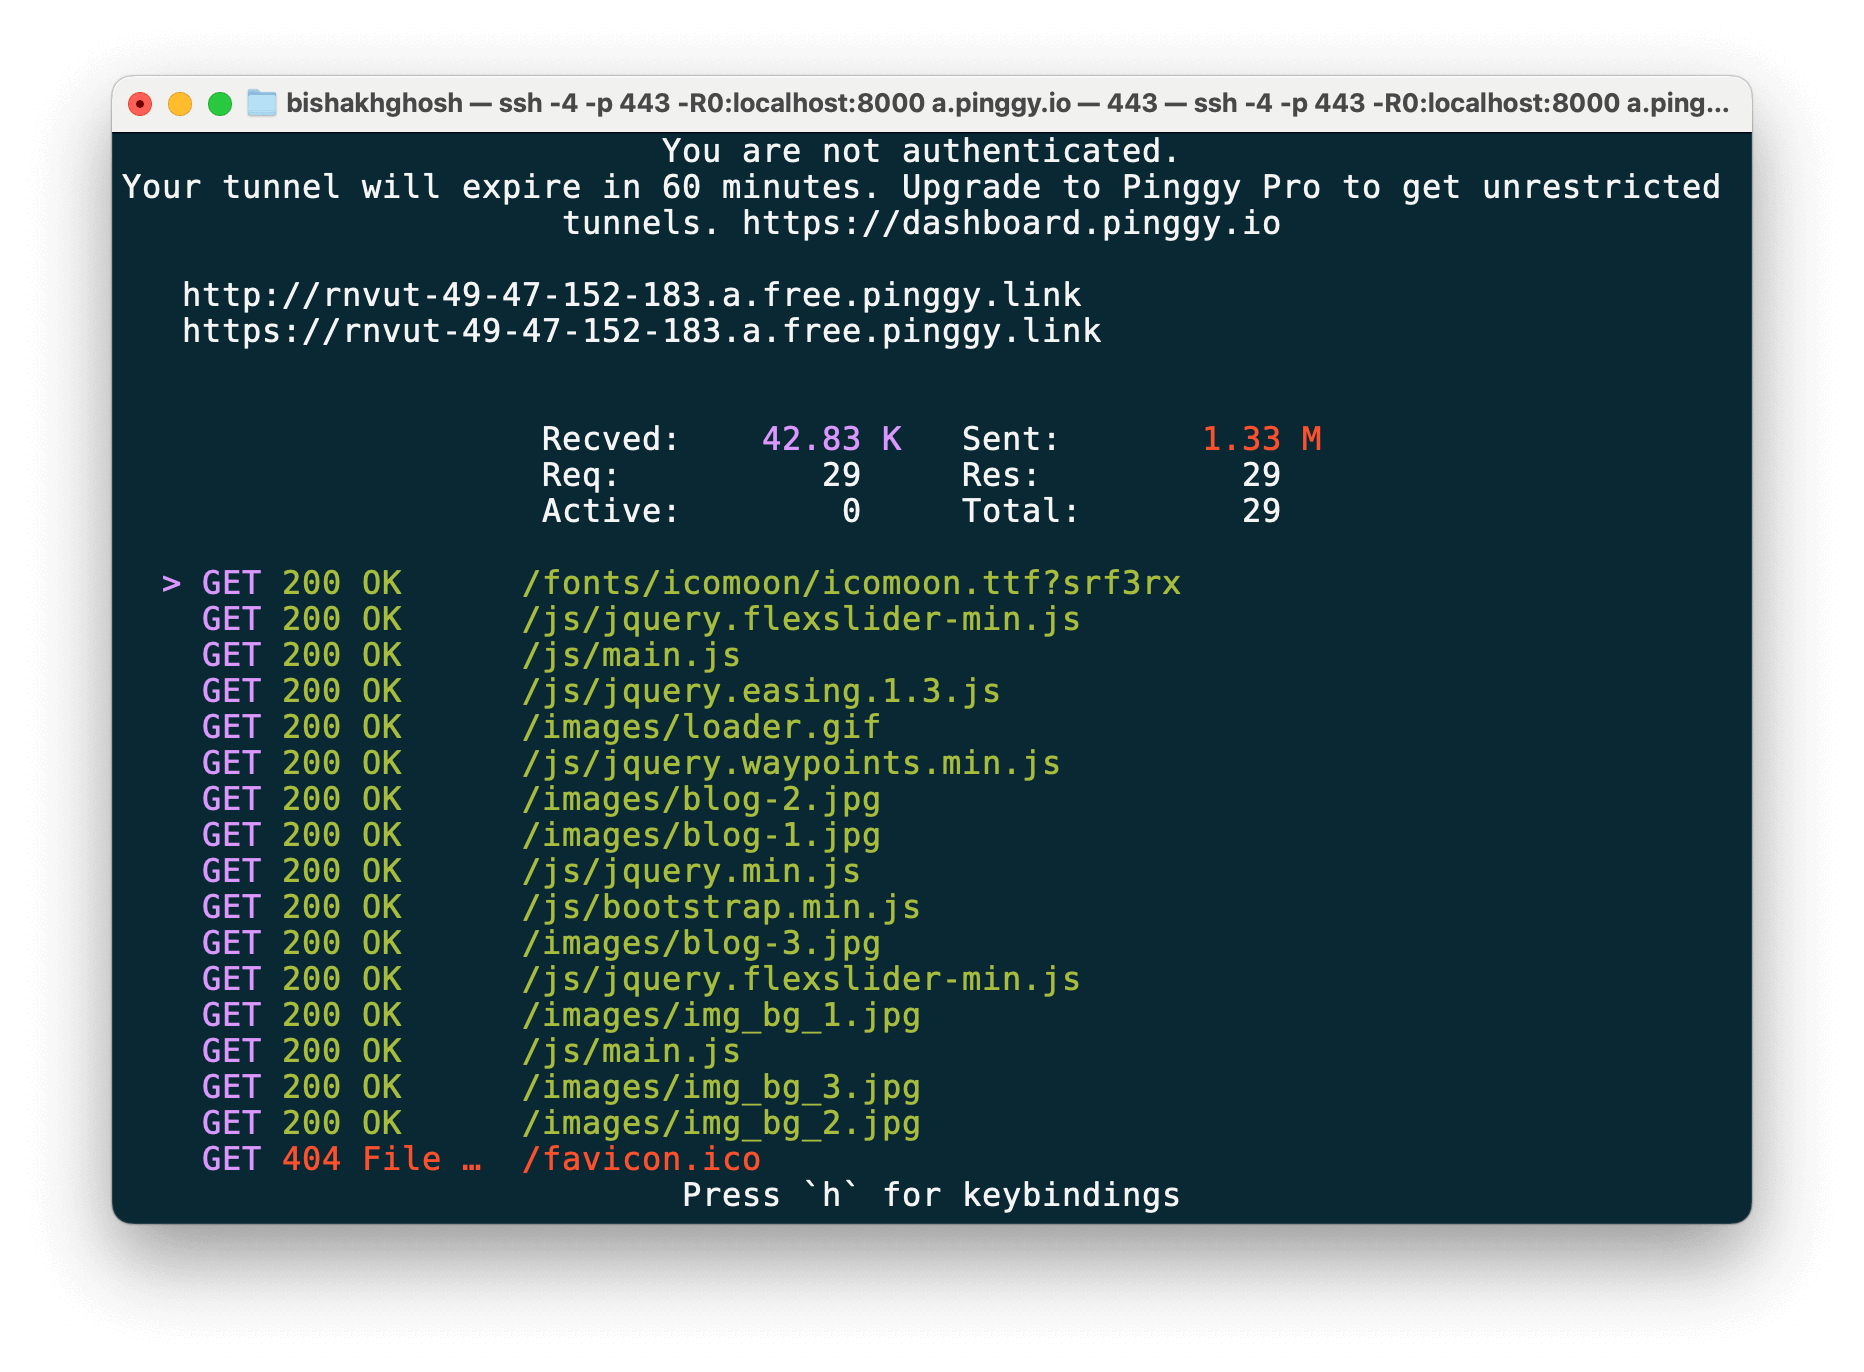
Open your terminal / command prompt and run the following to create a tunnel using SSH:
ssh -p 443 -R0:localhost:8000 free.pinggy.io
Replace the port 8000 with the localhost port where your service is running.
If you are prompted for a password, just press enter.
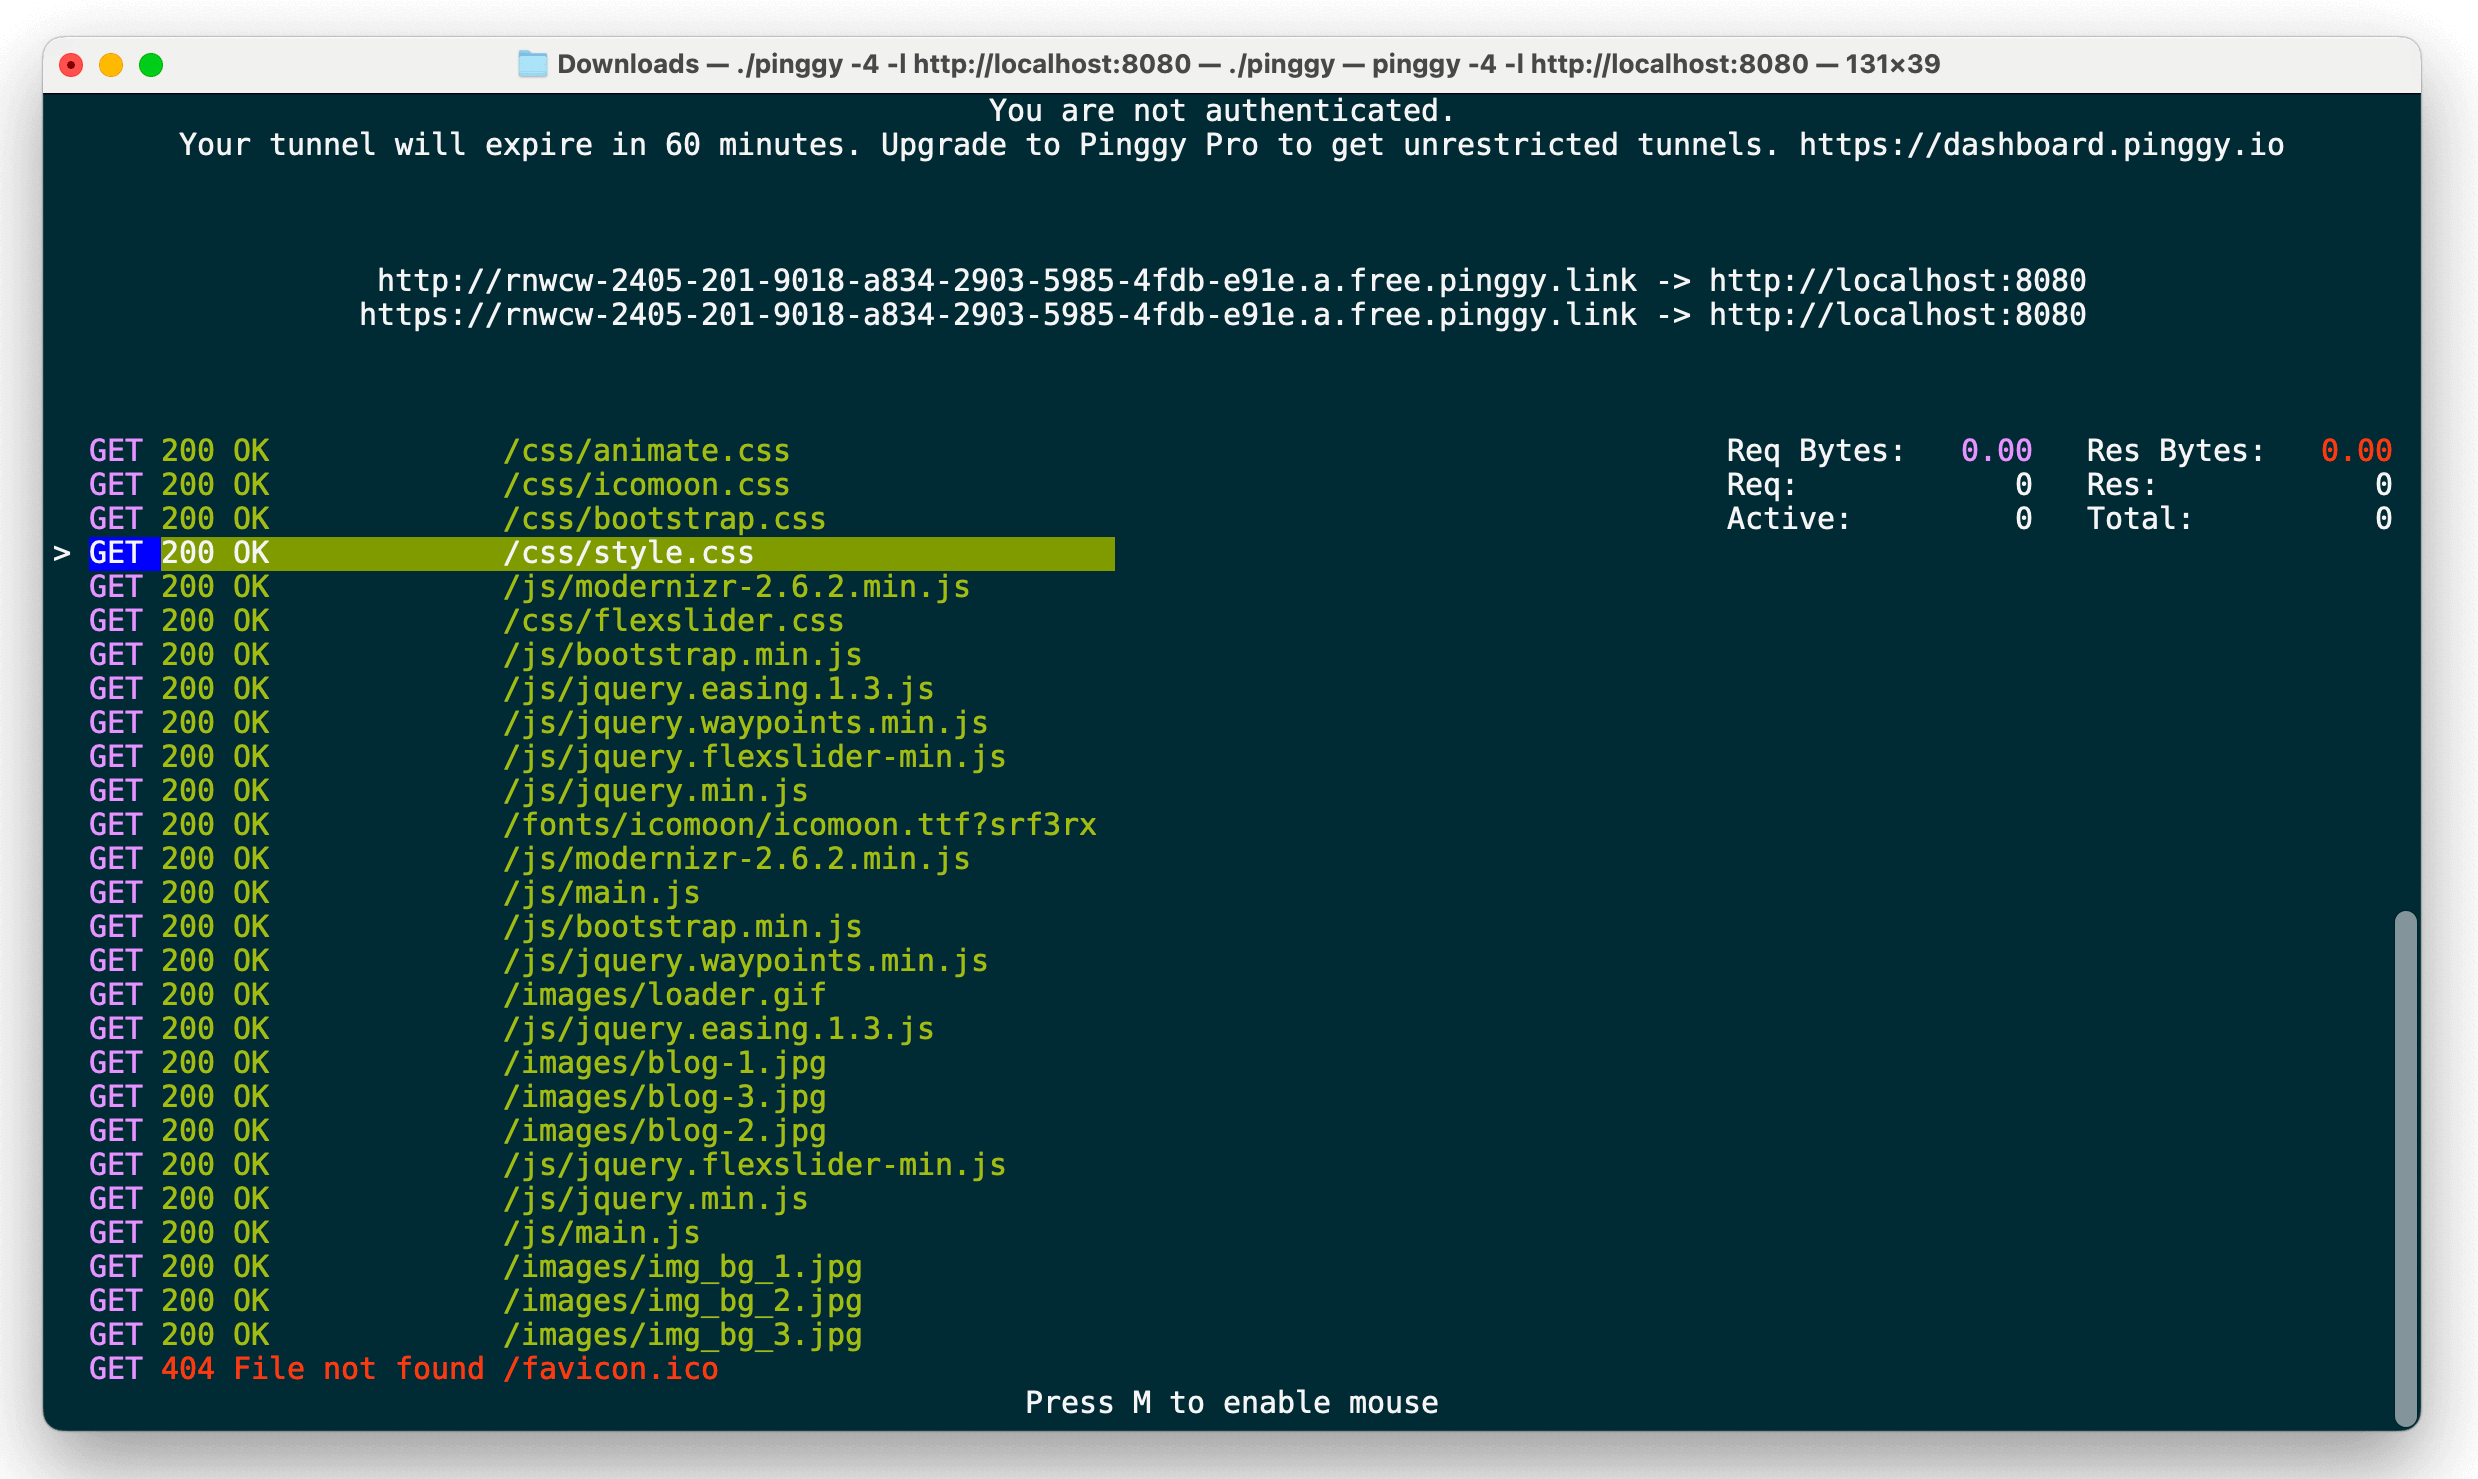
Download the Pinggy CLI from here and run the following command:
./pinggy -p 443 -R0:localhost:8000
Replace the port 8000 with the localhost port where your service is running.
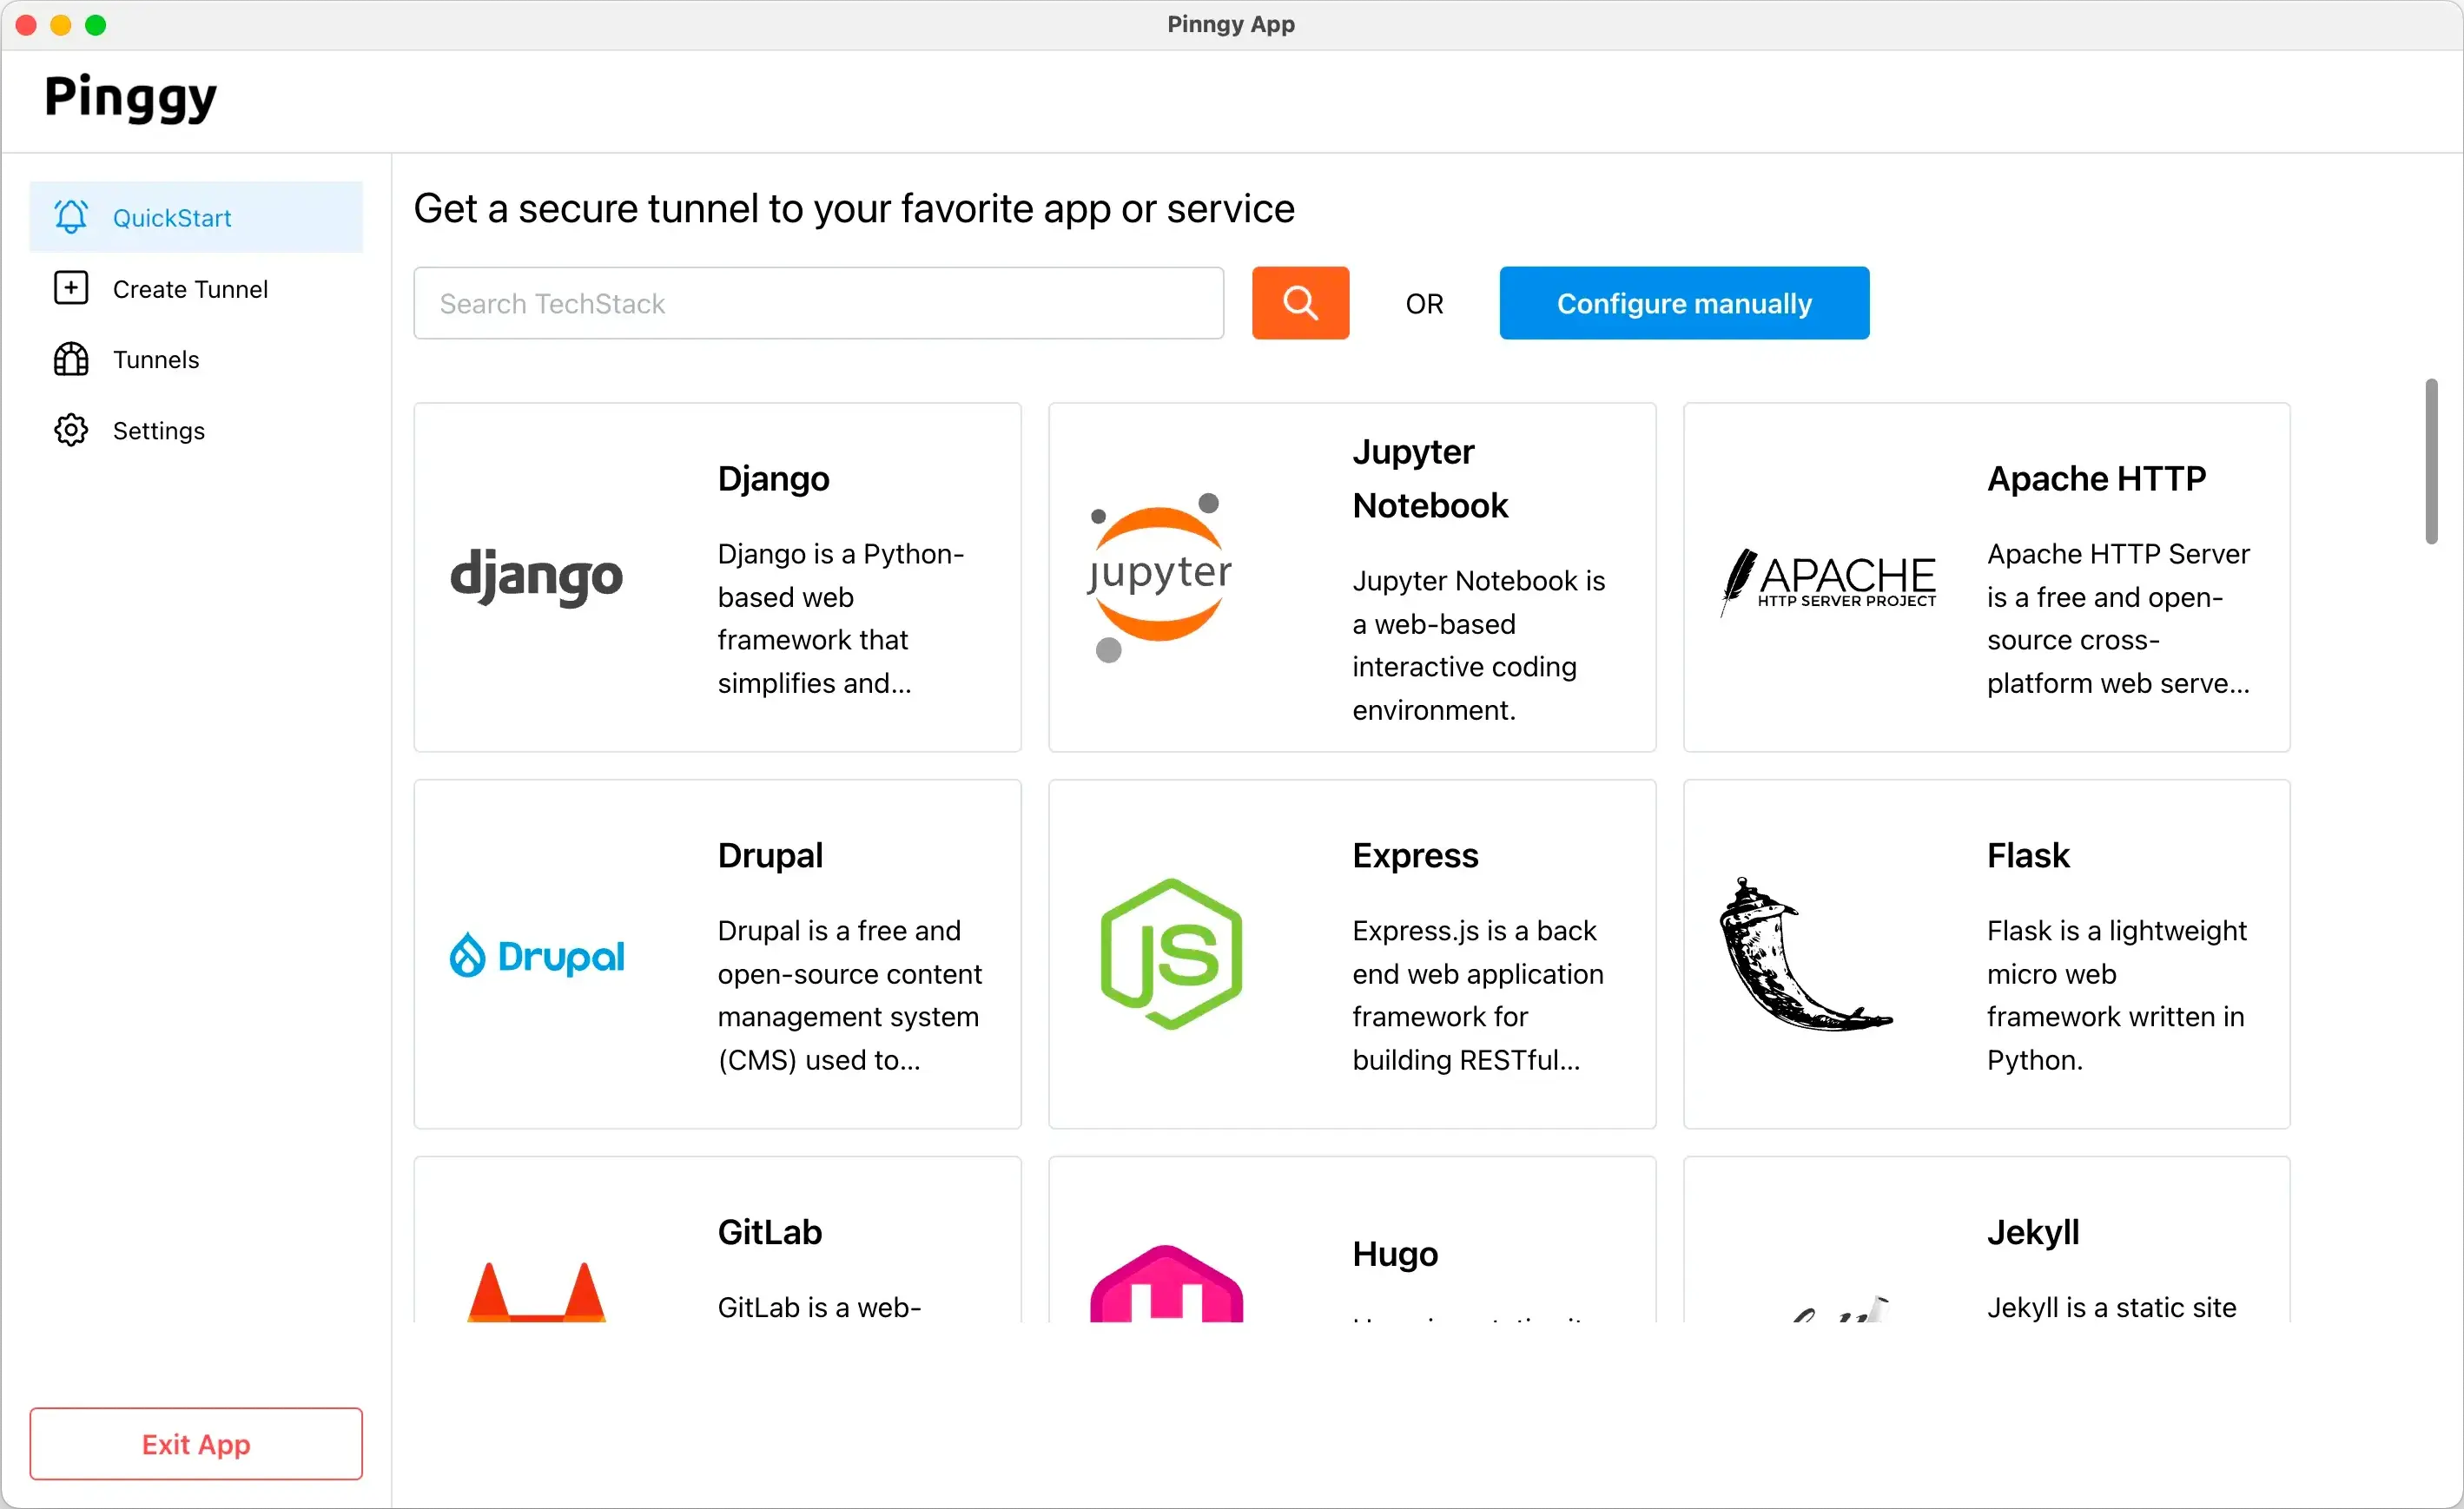
Download the Pinggy App from here and follow the instructions to set up a tunnel for your localhost service.
Install the Pinggy Node.js SDK using npm:
Then, create a tunnel in your Node.js application:
import { pinggy } from "@pinggy/pinggy";


const tunnel = await pinggy.createTunnel({ forwarding: "localhost:3000" });
await tunnel.start();
console.log("Tunnel URLs:", await tunnel.urls()); // Get all public urls
Replace 3000 with the port where your service is running.
Follow Pinggy Node.js SDK docs for more details.
Install the Python SDK using pip:
Then, create a tunnel in your Python application:
import pinggy

# Start an HTTP tunnel forwarding traffic to localhost on port 8000
tunnel = pinggy.start_tunnel(forwardto="localhost:8000")

print(f"Tunnel started. Urls: {tunnel.urls}")
Replace 8000 with the port where your service is running.
Follow Python SDK docs for more details.
Step 3: Access through public URL
The above step will provide you http and https URLs as follows:
// You can access local server via following URL(s):
http://uljtt-30-47-152-61.a.free.pinggy.link
https://uljtt-30-47-152-61.a.free.pinggy.link
You can access your localhost service using these URLs.
With Pinggy Pro you can customize these urls by logging in to dashboard.pinggy.io.
Quickstart Recipes
View our to find the Pinggy configuration for your favourite app / service.