You can SSH into your IoT devices from anywhere in the world with a single command - no public IP, no port forwarding, no router configuration required.
Summary
Run this command on your IoT device such as Raspberry Pi:
ssh -p 443 -R0:localhost:22 tcp@free.pinggy.io
This command creates a TCP tunnel and it will output a public URL like tcp://tljocjkijs.a.pinggy.link:40527.
Use the SSH command with the URL and port to connect to your IoT device:
ssh -p <port> <username>@<pinggy_url>
Example:
ssh -p 40527 pi@tljocjkijs.a.pinggy.link
Now, you can securely SSH into your IoT device from anywhere in the world.
Sign in to https://pinggy.io and use an access token to get a persistent, named tunnel address.
As developers and DevOps engineers we need remote access to IoT fleets to monitor, maintain, push updates, and add features. The ability to SSH into these devices from anywhere is central to that workflow. The problem: most IoT devices sit behind NAT with no public IP, so you can’t just open an SSH connection directly.
Using
Pinggy you can get a TCP tunnel for SSH access in seconds. It punches through NAT and gives you a public URL you can connect to from any machine on the internet.
There are a few approaches to remote IoT access:
- SSH remote access - gives you a full terminal on the device. Most reliable for headless devices and scripted automation.
- RDP / VNC for remote desktop - useful when you need the GUI. Higher bandwidth requirement.
- Manufacturer web portals - convenient but often cloud-locked and limited in capability.
This guide focuses on SSH, which covers the majority of IoT use cases.
Using Pinggy for SSH from anywhere
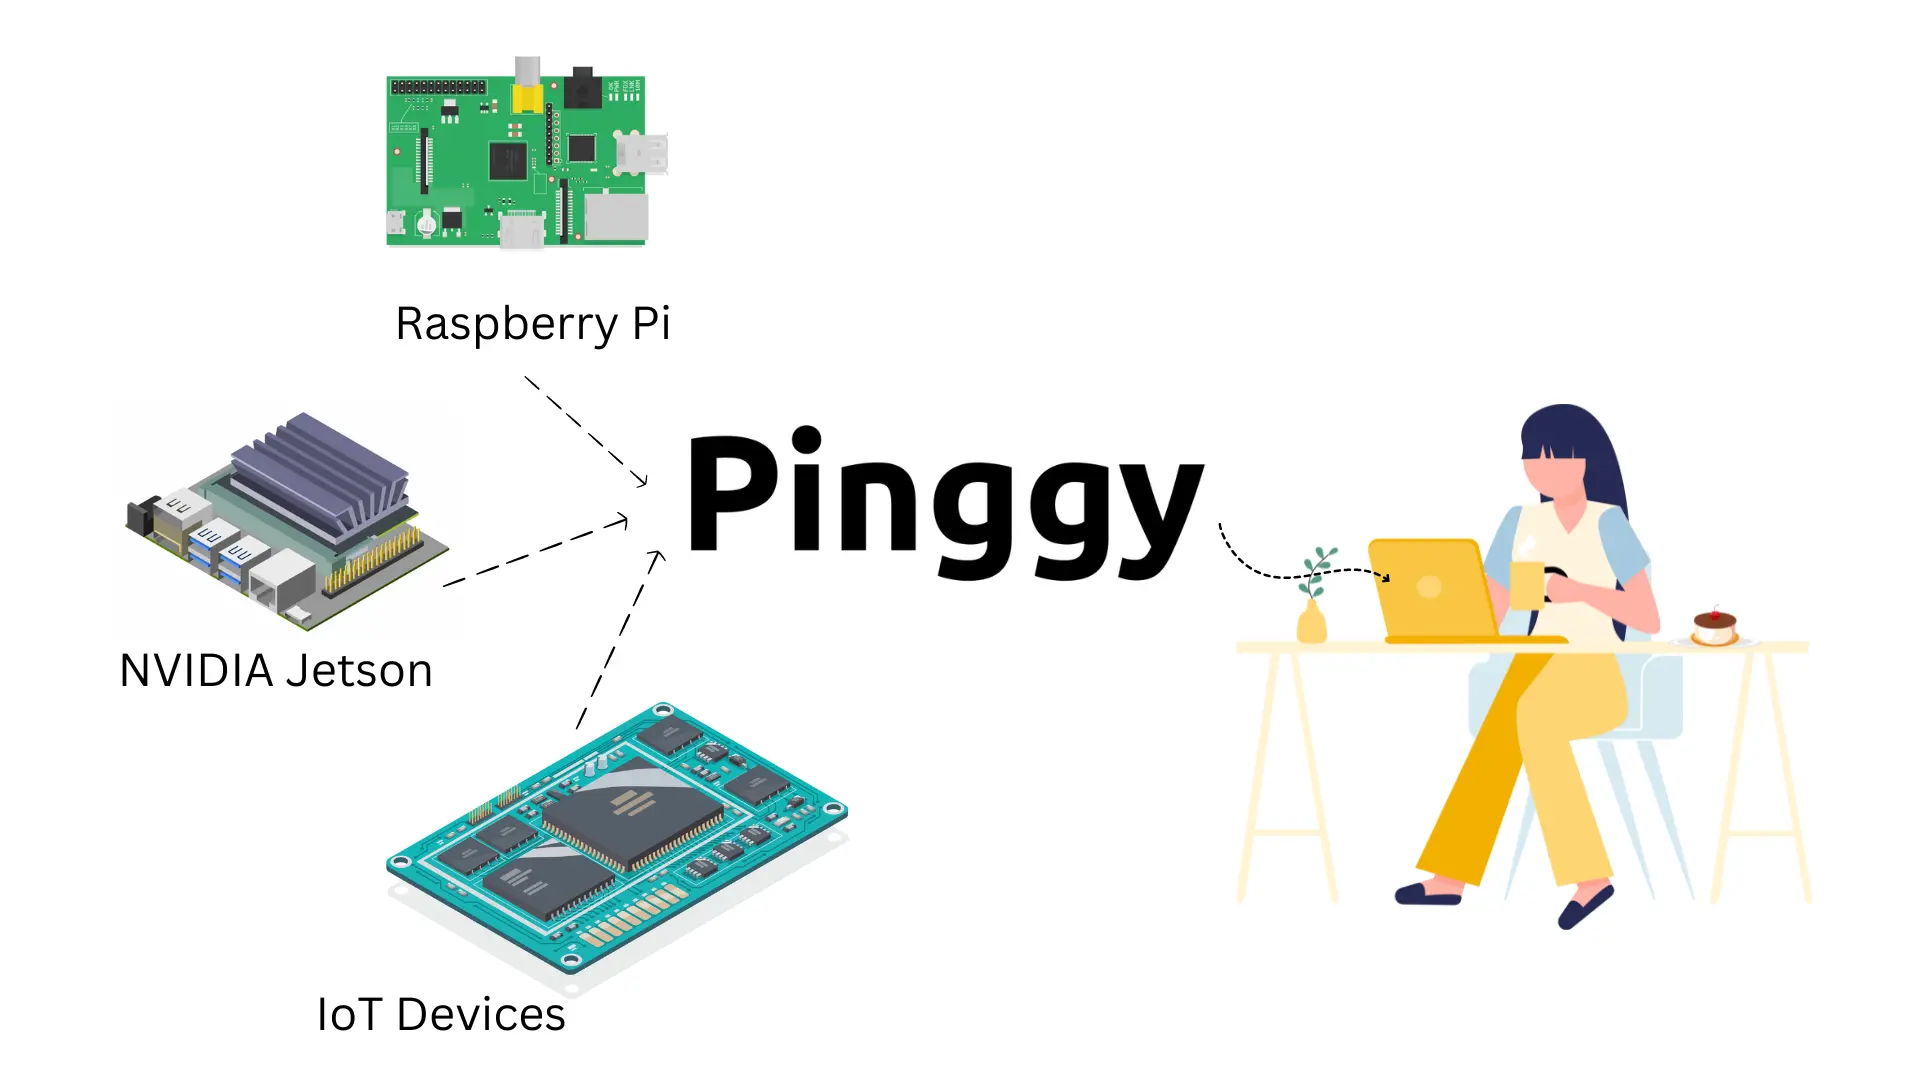
Pinggy works with Raspberry Pi, Banana Pi, Orange Pi, NanoPi NEO, Odroid, Rock Pi, NVIDIA Jetson Nano, and any Linux-based IoT device. As long as the device has outbound internet access and runs an SSH server, this works.
Step 1: Create a tunnel to your IoT device
On your IoT device, open a terminal and run:
ssh -p 443 -R0:localhost:22 tcp@free.pinggy.io
This connects out to Pinggy’s server over port 443 (which is almost never blocked by firewalls) and sets up a tunnel that forwards traffic back to your device’s port 22.
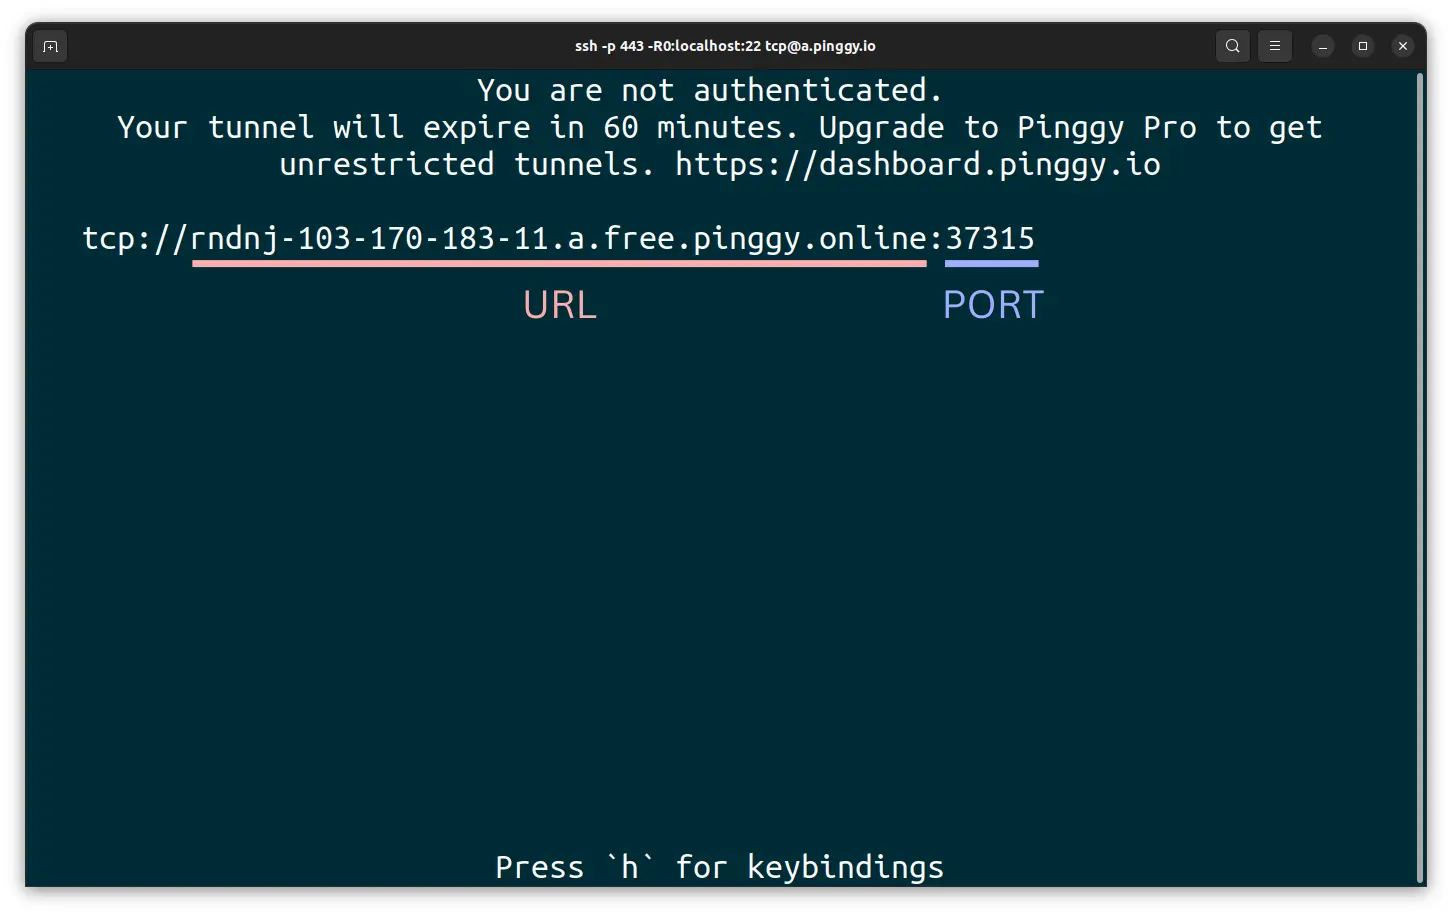
Step 2: Obtain the public URL
After running the command, Pinggy prints a public URL in this format:
tcp://tljocjkijs.a.pinggy.link:40527
Note the hostname and port. The URL changes each time you reconnect on the free plan - if you need a stable address, use an access token (covered below).
Step 3: SSH into your IoT device
From any machine with internet access, run:
ssh -p 40527 username@tljocjkijs.a.pinggy.link
Replace username with your device’s username, and use the hostname and port from your Pinggy output. The connection goes to Pinggy’s server, which routes it through the tunnel to your device.
Tip: the default username on Raspberry Pi OS is pi on older images and the username you set during setup on newer ones.
Persistent tunnel address with the Pinggy dashboard
On the free plan, the public URL changes every time you reconnect. For devices you need to reach regularly, use an access token to get a consistent tunnel tied to your account.
Step 1: Sign in to Pinggy
Go to
dashboard.pinggy.io and sign in. Create a free account if you don’t have one.
Step 2: Get your access token
Your access token is on the dashboard home. Copy it.
Step 3: Create the tunnel with your token
ssh -p 443 -R0:localhost:22 <access_token>+tcp@pro.pinggy.io
Replace <access_token> with the token from the dashboard. With a token, you can also see the active tunnel URL from the dashboard without needing to be on the device - useful when you’ve forgotten what address the device is on.
Remote desktop access
If you need GUI access rather than a terminal, the same approach works. Start a VNC or RDP server on your device, then tunnel to that port instead:
ssh -p 443 -R0:localhost:5900 tcp@free.pinggy.io
(Port 5900 is the default VNC port.) Connect with your VNC viewer using the Pinggy URL and port.
Conclusion
Pinggy gives you SSH access to IoT devices from anywhere with no router changes and no static IP. The free plan works fine for occasional access; a paid plan or access token gives you a stable URL for devices you connect to regularly.